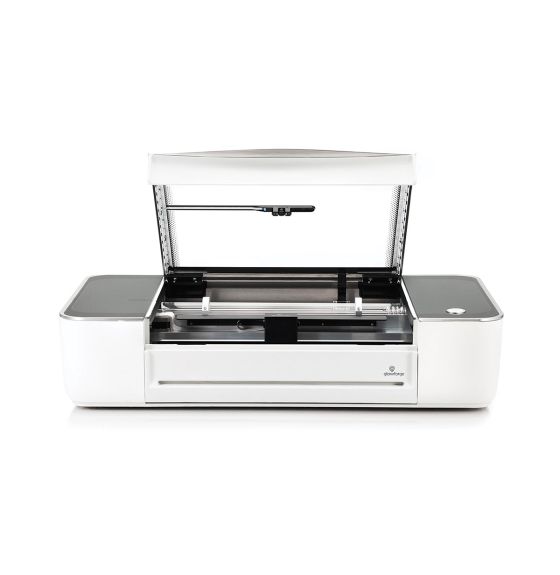
Unleash Your Creative Genius With Custom Laser-Cut And Etched Acrylic Blanks For Mold Making, Custom Stamps, Signs And More!
Bring us your ideas and we can bring them to life!

MYSTIQUE MOLD SOLUTIONS
These unique and versatile blanks by Mystique Mold Solutions are here to ignite your imagination and bring your artistic visions to life.
Whether you're casting resin, wax molds, clay, soap, or creating a custom stamp, our blanks are the perfect companions for your crafting adventures.
Get ready to mold, shape, and create something truly unique with a touch of laser-powered magic! Let the fun begin!
Let your imagination soar with Mystique Mold Solutions' premium acrylic blanks—because your artistic dreams deserve nothing less than perfection!
How to Create a Silicone Mold With Your Acrylic Blank
-

How to Make a Mold
Here are step-by-step instructions on how to create a silicone mold from an acrylic blank:
Materials you will need:
1. Acrylic blank
2. Silicone mold-making material (such as silicone rubber)
3. Mixing containers
4. Stirring sticks or spatulas
5. Release agent (such as petroleum jelly or mold release spray)
6. Mold box or container
7. Mold release agent (if not using a silicone mold material that already includes a built-in release agent)
8. Scale or measuring cups (if necessary for accurate measurements)
9. Protective gloves, breathing filter and apron (to ensure safety during the process) -
Step 1: Prepare the acrylic blank
Ensure that the acrylic blank is clean and free from any dust, dirt, or debris. This will help create a smooth mold surface and ensure accurate reproduction of details.
Step 2: Set up the mold box
If using a mold box, place the acrylic blank inside it. Make sure the box is slightly larger than the blank, leaving enough space for the silicone mold material to surround it.
Step 3: Apply mold release agent (if necessary)
If your silicone mold material does not already include a built-in release agent, apply a thin layer of mold release agent to the surface of the acrylic blank. This will help prevent the silicone from sticking to the acrylic during the curing process.
Step 4: Prepare the silicone mold material
Follow the instructions provided with your chosen silicone mold material to prepare it for use. This may involve measuring and mixing specific ratios of the silicone components in a mixing container. Use stirring sticks or spatulas to thoroughly mix the components together. -
Step 5: Pour the silicone mold material
Carefully pour the mixed silicone mold material into the mold box or container, ensuring that the acrylic blank is fully submerged and surrounded by the silicone. Avoid trapping air bubbles by pouring the silicone in a slow and controlled manner. Tap the container gently on a table or work surface to release any trapped air bubbles.
Step 6: Allow the silicone to cure
Follow the recommended curing time provided by the silicone mold material manufacturer. This can vary depending on the specific product you are using. Make sure the mold is placed on a level surface during the curing process and avoid disturbing it.
Step 7: Demold the silicone mold
Once the silicone has fully cured, carefully remove the mold box or container. Gently flex or peel the silicone away from the edges of the mold box to release it. Slowly and carefully remove the acrylic blank from the silicone mold.
Step 8: Clean and prepare the silicone mold
Clean the silicone mold with warm soapy water to remove any residue. Allow it to dry completely before use. If necessary, apply a mold release agent to the interior surface of the mold before casting your desired material.
Get Started Today Making Your Own Molds With Custom Acrylic Blanks
Choose from hundreds of pre-made designs or let us design something custom just for you!

