
MYSTIQUE MOLD SOLUTIONS
These unique and versatile blanks by Mystique Mold Solutions are here to ignite your imagination and bring your artistic molding visions to life. Whether you're casting resin, wax molds, clay, or soap, our blanks are the perfect companions for your crafting adventures. Get ready to mold, shape, and create something truly unique with a touch of laser-powered magic! Let the fun begin!
Let your imagination soar with Mystique Mold Solutions' premium acrylic blanks—because your artistic dreams deserve nothing less than perfection!
How to Create a Silicone Mold With Your Acrylic Blank
-
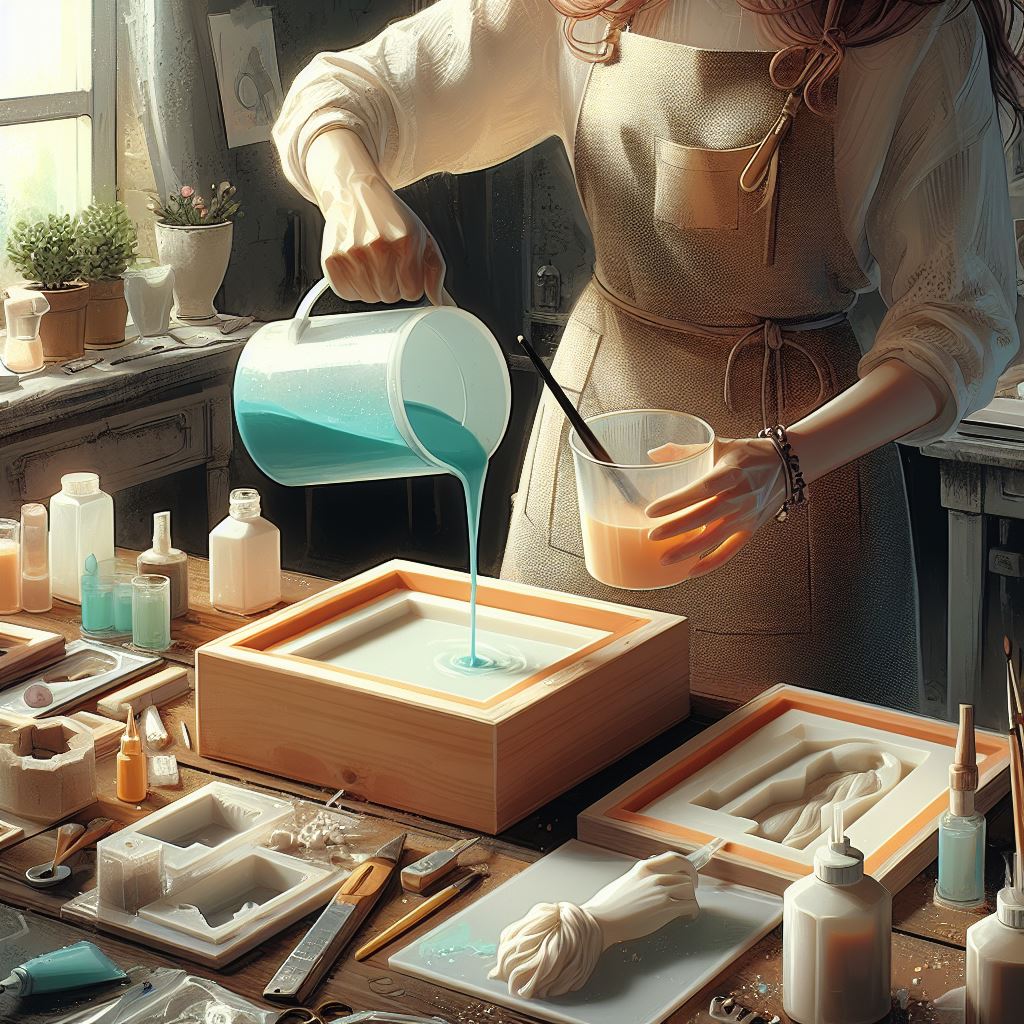
How to Make a Mold
Here are step-by-step instructions on how to create a silicone mold from an acrylic blank:
Materials you will need:
1. Acrylic blank
2. Silicone mold-making material (such as silicone rubber)
3. Mixing containers
4. Stirring sticks or spatulas
5. Release agent (such as petroleum jelly or mold release spray)
6. Mold box or container
7. Mold release agent (if not using a silicone mold material that already includes a built-in release agent)
8. Scale or measuring cups (if necessary for accurate measurements)
9. Protective gloves, breathing filter and apron (to ensure safety during the process)
